Add availabilities within regular hours
1. Set your event duration, padding time and guests limit
- On your booking page, click on the event type that you want to edit
- Click on the button
Availability Settings - Under Scheduling options, edit
Event duration(s),Event paddingandMax guests allowed per time slot. You can add multiple event durations within an event type.
2. Add regular working hours
- Click on the button
Availability Settings. Under the Availability section, clickAdd availability(if you have no hosts yet), orAdd to round robin/Add new groupto add another host. - In the Add Host Availability editor, choose a host from the
Hostdropdown, then clickNew schedule(orCreate a new schedule). - Name the schedule, then click on
Add availability>Add weekly hoursto add the weekly schedule. - You can also set the time intervals during which the events can be scheduled, simply click on the drop-down menu under Events can be scheduled every.
- Click on
Save Changes. - Now you will see the available dates are showing on the calendar.
3. Select your booking window
You can customize your booking window time to allow guests to book only within a timeframe. The default booking window is set as 1 day from now to 14 days from now.
Assume today is April 15th, the booking window time means that:
- the earliest available time slot that a guest can book with you is 24 hours from now or on April 16th
- the last available time slot that a guest can book with you is 14 days from now or on April 29th
However, you can edit your booking window based on your needs. For example, if you want to allow guests to book on the same day, then you can adjust the booking window start time to 2 hours before the occurrence of the event. To do that:
- On your booking page, click on the event type that you want to edit.
- Click on the button
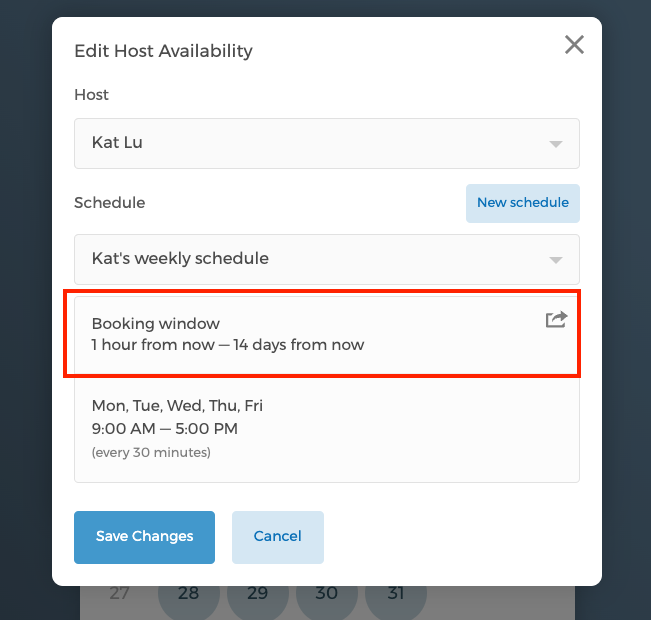
Availability Settings, then click on the schedule that you want to edit - Click on the Booking window (please note that Booking Window will only appear if you already have added availability).
- In the Booking window modal, select the booking window start time and end time. In this case, if booking window start time is 1 hour from now, your minimum booking notice is 1 hour from the chosen time slot.
4. Duplicate schedules to other event types
You can duplicate one event type's schedule quickly to other event types to save time. But other event types will need to be created first.
- Click on the button
Availability Settings - Under the Availability section, click on the host, then open the schedule you want to edit.
- Scroll down and under
This schedule applies to(shown for existing schedules), you'll see the hosts and event types it applies to. - Select the event types to which you want to apply this schedule, then click on
Save Changes.
Add availabilities outside of regular hours
1. Add one-time availability
Adding availabilities outside regular hours is simple.
In the example below, the regular hours is 9am-5pm, Monday to Friday.
To add the custom time slot at 1pm on Saturday, January 31st, please follow these steps:
- Click on the button
Availability Settings, select the current schedule that you want to edit - Click on the schedule, then click on
Edit schedule - Click on
Add availability>Add date and timesand select the date and time that you want to add. In this case Saturday, January 31st, 1pm is selected. You can make this time slot to repeat daily, weekly, monthly or yearly. - Click on
Save Changes. You will see that the one-time available time slot is added to the regular weekly schedule.

2. Add a fixed range of availability
You can also select a fixed time range through holiday hours.
Note: Holiday hours take priority over your regular schedule.
In the example below, assuming you have already added the regular hours 9am-5pm, Monday to Friday.
To add the holiday hours from September 04th to 08th please follow these steps:
- On Availability Page, click on the button
Availability Settings. - Open your existing schedule, then open the Weekly Hours editor.
- Check the box next to
Enable Holiday Hours, which take priority over regular hours., then set the Start date and End date range as September 04th to 08th. - Click on
Save Changes. - On the calendar, you will see that only the time period September 04th to 08th are showing.
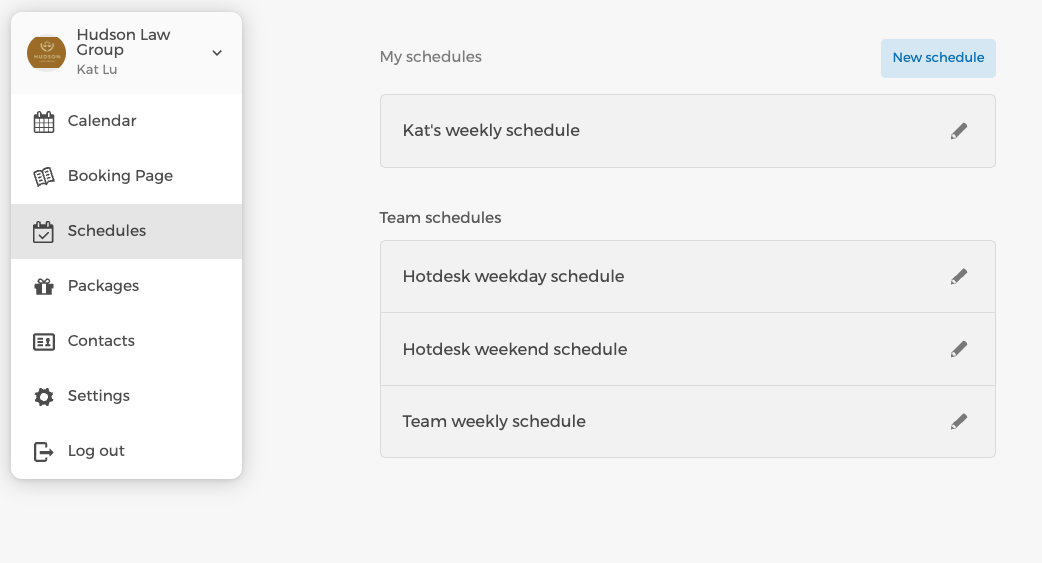
Manage all of your schedules
To manage all of your schedules, click on Schedules on the left menu. If you are an admin of a team, you'll see team schedules in addition to your personal schedules.
Got further questions? Email us at support@cozycal.com