We made CozyCal with collaboration in mind. In this guide, you will learn two ways to add your availabilities to a team booking page.
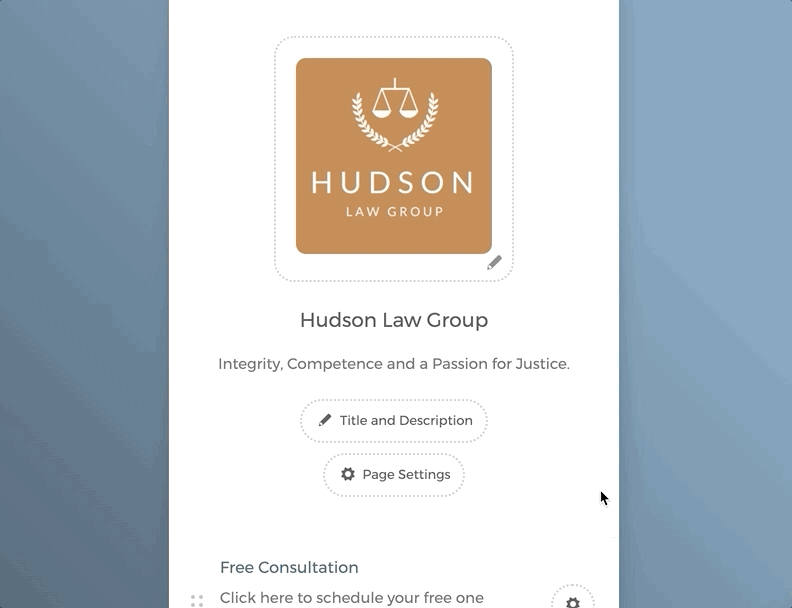
In the example used below, the admin from Hudson Law Group has invited Alex Wright (assuming you are Alex) to join the firm's team booking page.
Option 1: add availabilities to shared event types
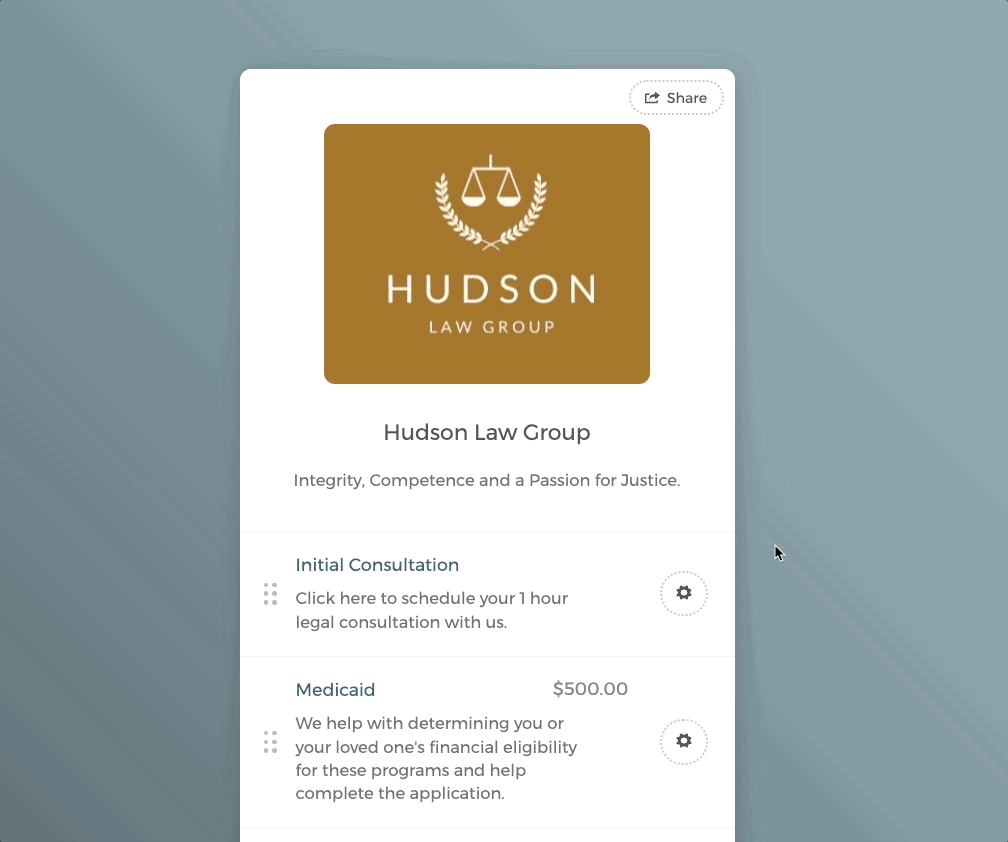
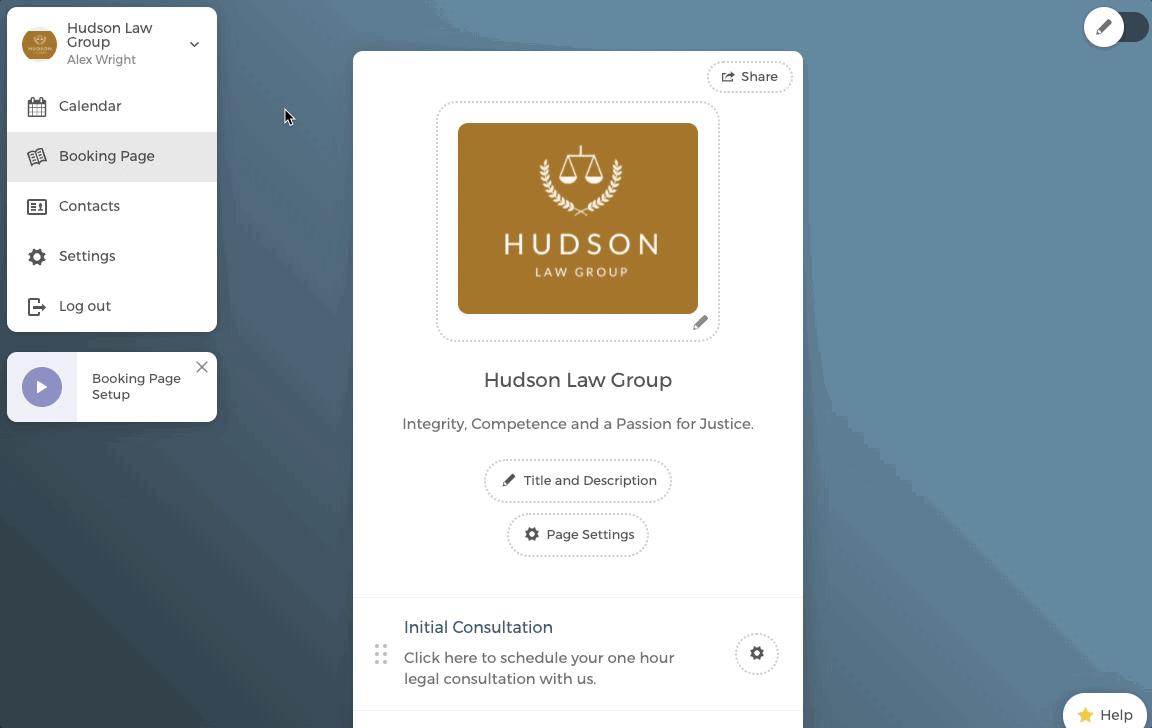
Once you have signed up and join the team booking page, you will see all the existing event types that are already created by the admin.
If you share the same event type Initial Consultation with others, then add your own availabilities on the booking page.
1.1 Use a team schedule
1.2 Add your own schedule
When guests book an event on the team booking page, they have the option of scheduling an event with the entire firm (with Hudson Law Group in this example) or a specific team member.
Scheduling with the entire firm follows a round-robin booking style. CozyCal will look at all the events that have been booked for this event type, then assign the new event to the team member with the fewest booked events.
In this way, it ensures that the scheduling load is evenly distributed across the team.
Since this is a shared event type across the team, if you are not the admin, please refrain from making any changes to settings including the intake form, event confirmation and email notifications because they will affect the entire team.
Option 2: create your own event types on the team booking page
Step 1.1 Create a single event type
You can also create your own event types on the team booking page that exclusively shows your availabilities.
On your team booking page, scroll down to the bottom of the page to click on + New Item, then + New Event Type, create a new event type "Alex Wright's existing clients". Then add availabilities to this event type.
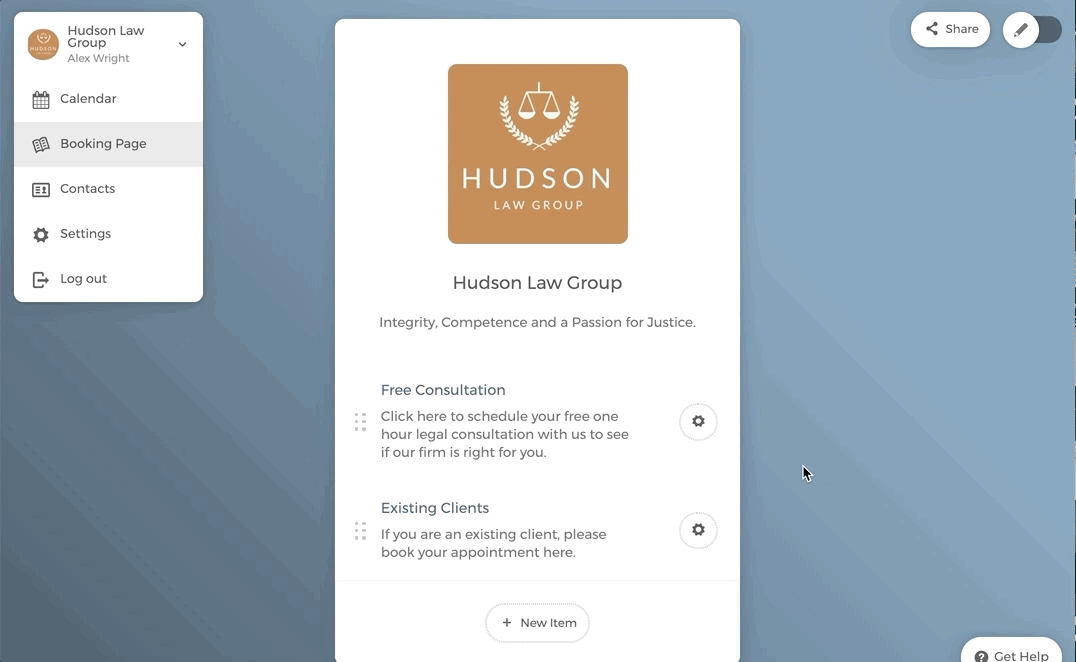
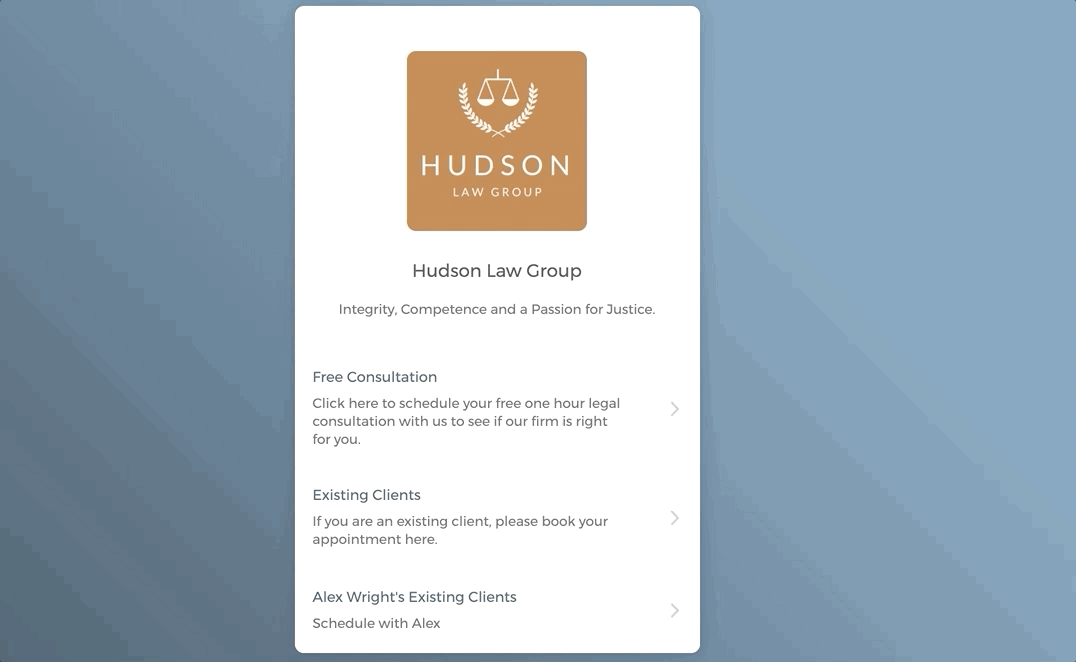
Go back to the team booking page and you will see the event type showing only Alex's availability.
Step 1.2: Create multiple event types
If you have multiple event types, you can add a folder first, then add the event types on the team booking page that exclusively shows your availabilities. A folder can hold multiple event types inside of it.
- On your team booking page, scroll down to the bottom of the page to click on
+ New Item, thenNew Folder, create a new folder "Book with Alex Wright". The folder will appear on the booking page.
Click on the folder "Book with Alex Wright" that was created. Then click on
+ New Event Type, add a new event type. In this case a new event type "Existing Clients" is created. You can then see the calendar pops up, click onAvailability Settingsto add your availabilities (not shown below).After that's done, click on the back arrow to go back to the folder, click on
+ New Event Typeto add another event type "New Clients". Again, add your own availabilities.
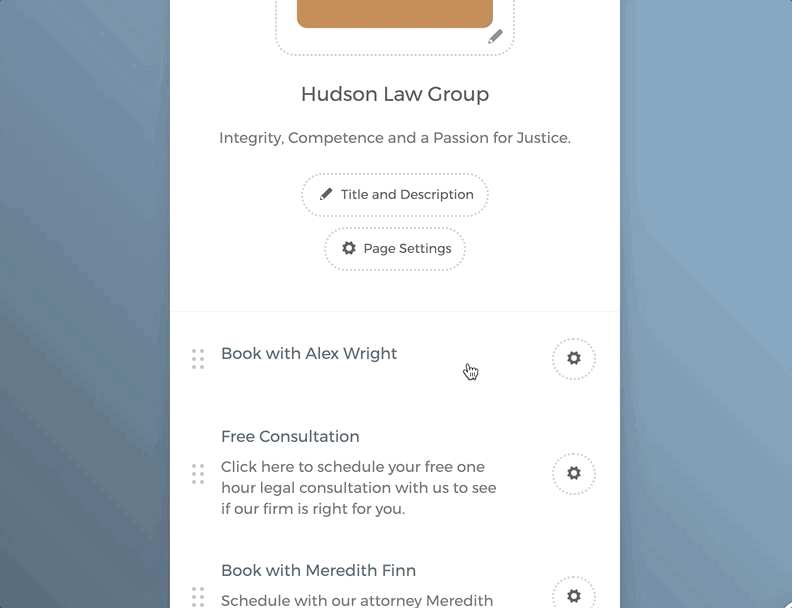
Now, when guests land on the Hudson Law Group's team booking page, and they want to specifically schedule a meeting with Alex. They can simply click on the folder "Book with Alex Wright" and then select the event type they want to schedule.
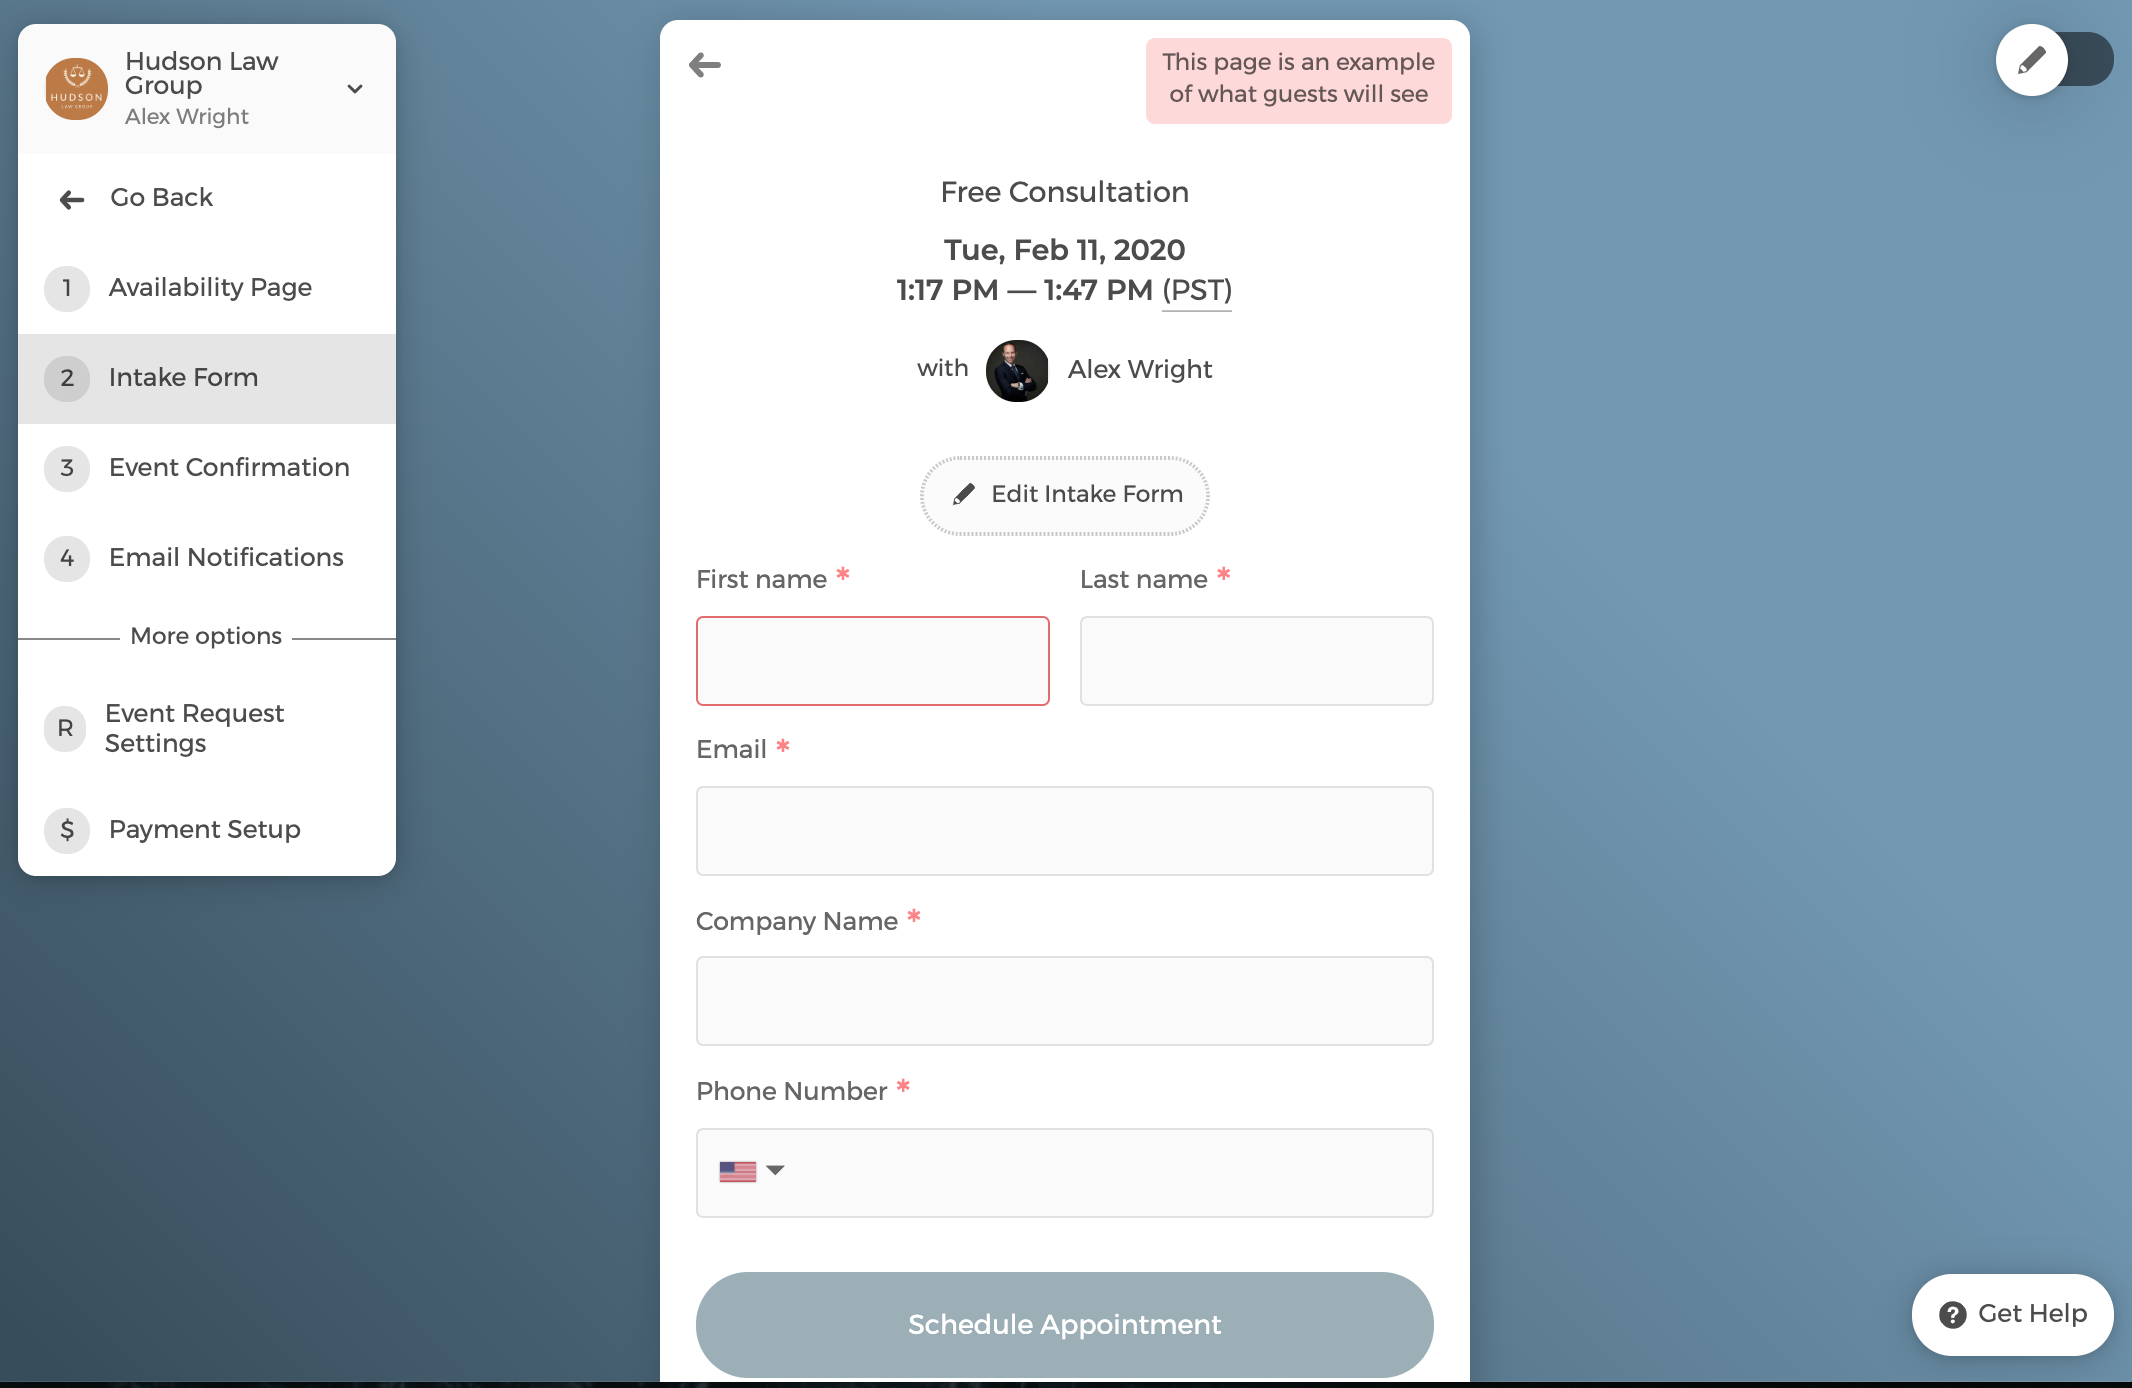
Step 2: Edit Intake form
Click on Edit Intake Form → Add a Form Field to add additional questions. The question format can be short answer, paragraph, phone number, checkbox, dropdown and date.
You can also edit the intake form's scheduling button text.
Step 3: Edit the Confirmation Message
Confirmation Message is the page that clients will be landing on once they schedule an appointment with you.
Click on Set Event Location to add physical address, phone number, Zoom or Google Meet for your event types.
After you enter a physical address, when guests click on it, they will be redirected to your location showing on the Google map.
If you select Zoom or Google Meet, a unique virtual meeting link is auto-generated and shared with your guests.
You can edit the confirmation message by clicking on the button Confirmation Message.
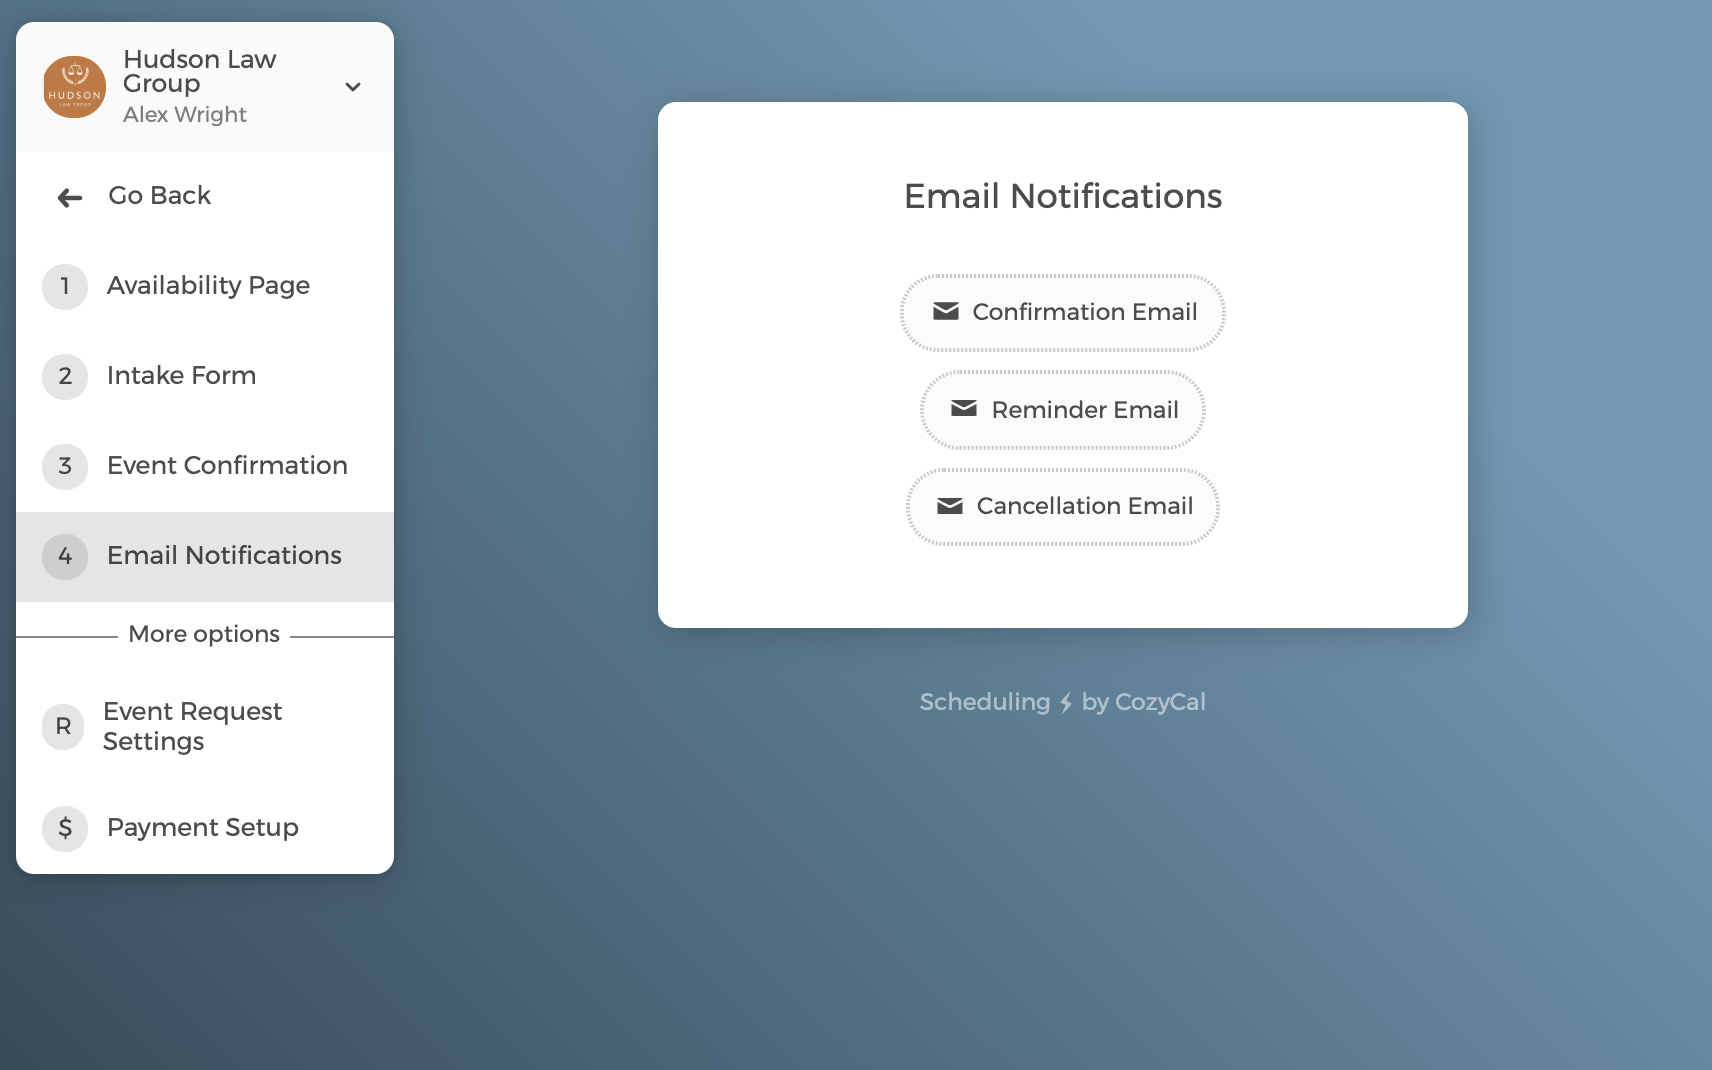
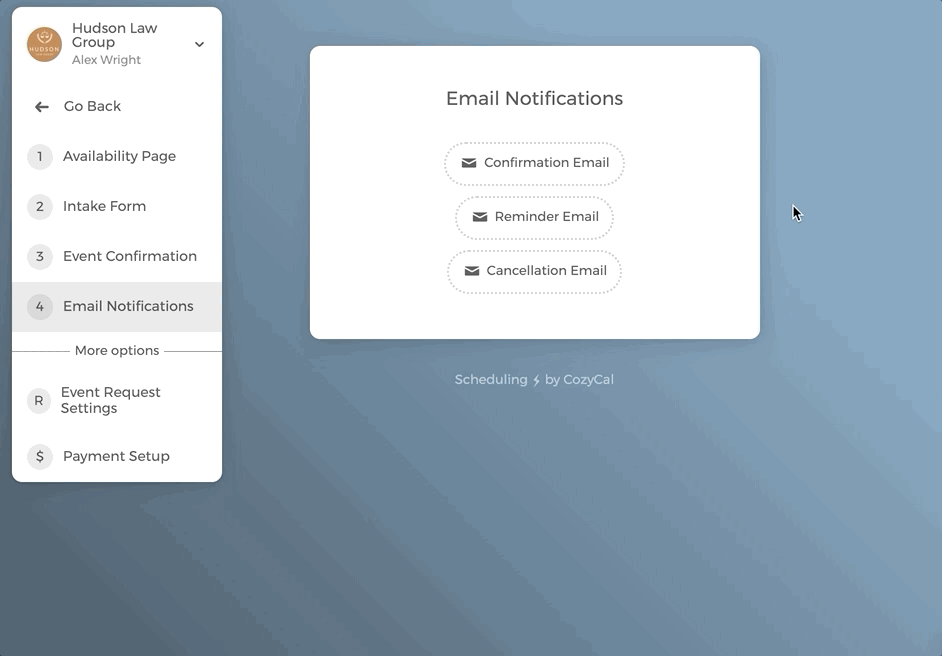
Step 4: Edit Email Notifications
There are three email notifications Confirmation Email, Reminder Email and Cancellation Email that are sent out automatically when an appointment is scheduled.
Each email comes with a template that contains key information such as scheduled event type, time and team member. You can edit the templates based on your needs.
If you want to send out the email notifications from your own domain (e.g., alexwright@hudsonlawgroup.com), please set up white-label emailing.
For the Reminder Email, up to 4 reminder emails can be sent prior to the scheduled event.
You can choose when the emails are sent out. In this example, Alex sets the reminder email to be sent out 3 hours before scheduled events. Then click on Save Changes.
If you are in US or Canada, one SMS message can be sent out prior to a scheduled event. Click here to learn more on setting up SMS reminder.
If you want to enable
Event Request Settings, which allows you to manually approve or decline an event request. Please click here to learn more.
Option 3: create your individual booking page
If you don't want to list your services and availability on the team booking page, you can create your own individual booking page.
But please note, you would need to ask your team leader to grant you admin access first before you can create your booking page under the same team.
- Check your admin access by going to Settings → Team Members. If you are granted admin access, you will see "Admin" underneath your name.
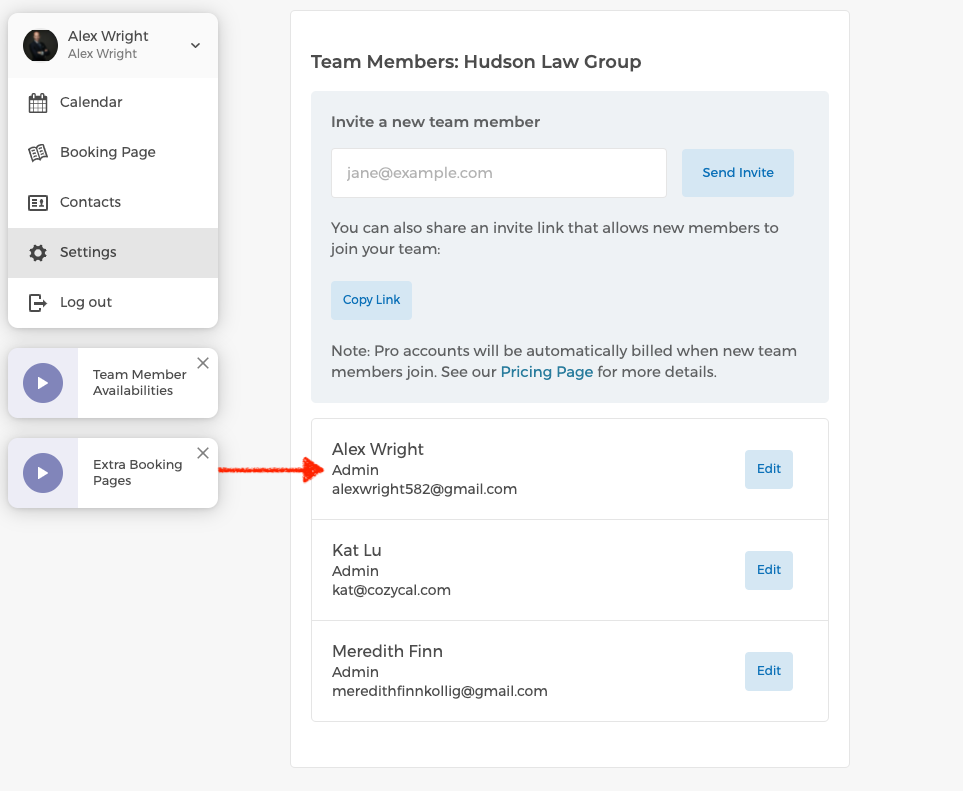
- Follow the steps below to create your individual booking page. Make sure your booking page is created under your team, instead of creating a new team.
Learn more about how to: